|
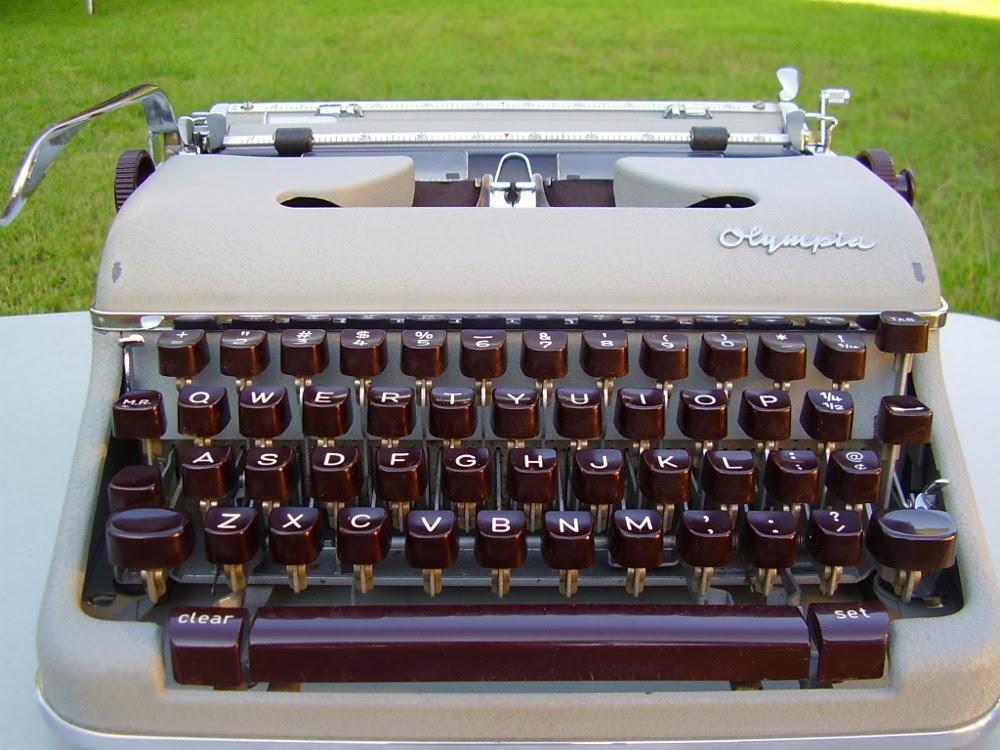
| This is what the machine looked like when it arrived. It's difficult to see the mildew on the keys from this view. |
 |
| Mildew covered keys. |
 |
| After cleaning, not perfect, but not filled with dirt. |
 |
| There are several cracks similar to this all over the platen |
 |
| Olympia's unique method of keeping the key tops parallel to the desk while typing. |
 |
| Rubber grommets and washer from Ace Hardware |
 |
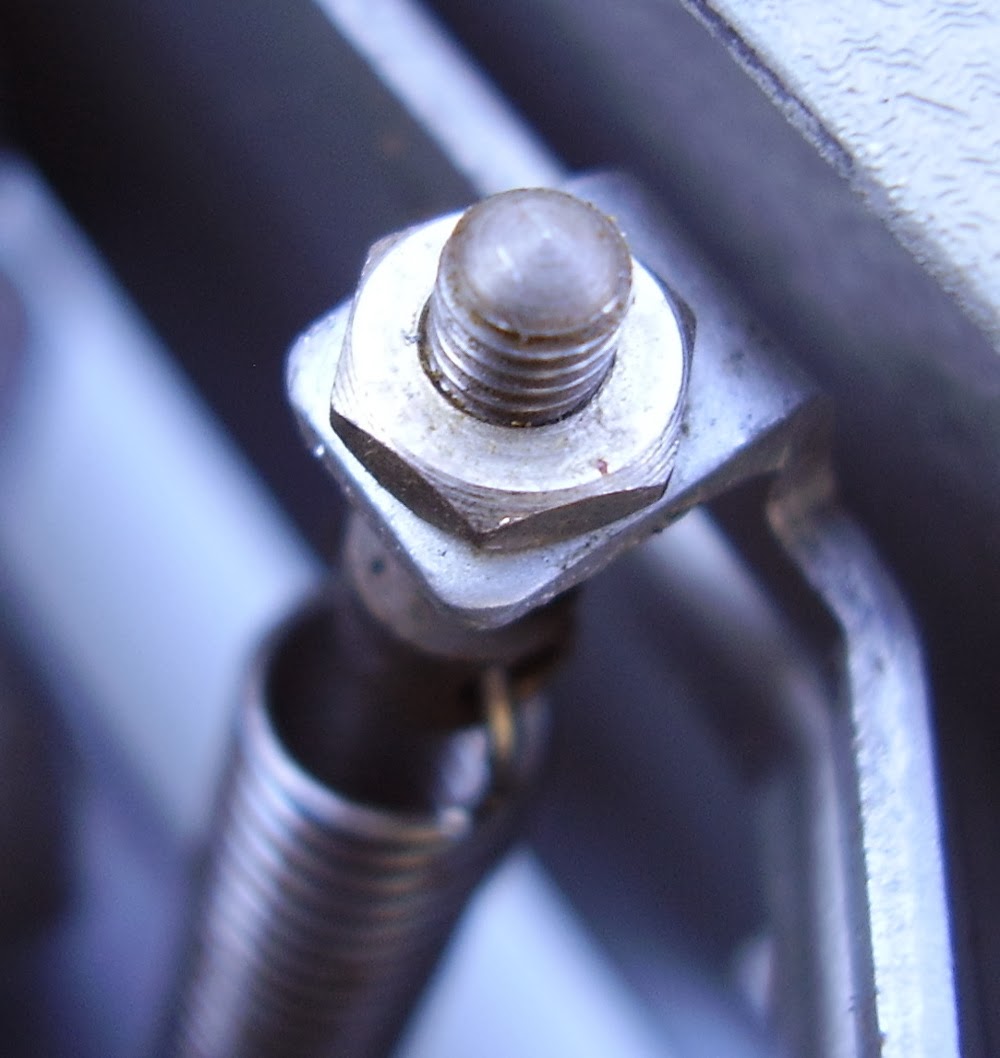
| These are the springs that adjust the shift tension. |
 |
| I have these pulled quite taunt with a bit to spare |
 |
| I used a dial calipers to set both sides the same. Counting the exposed threads will work fine too. |
 |
| The vinyl on the case was in bad shape and peeling. I removed it and left the wood as it was found. I was going to sand and re-varnish it, but it looks fine as it is shown. |
 |
| Hint. Look at the end of my workbench -- previous post. |
Thanks to Nick Beland for the escapement rail information.
The post on his blog is
here.
I have many more photos taken while this machine was being repaired. I may post all of them directly to the typewriter repair site Nick is building or post them all here in a future post.